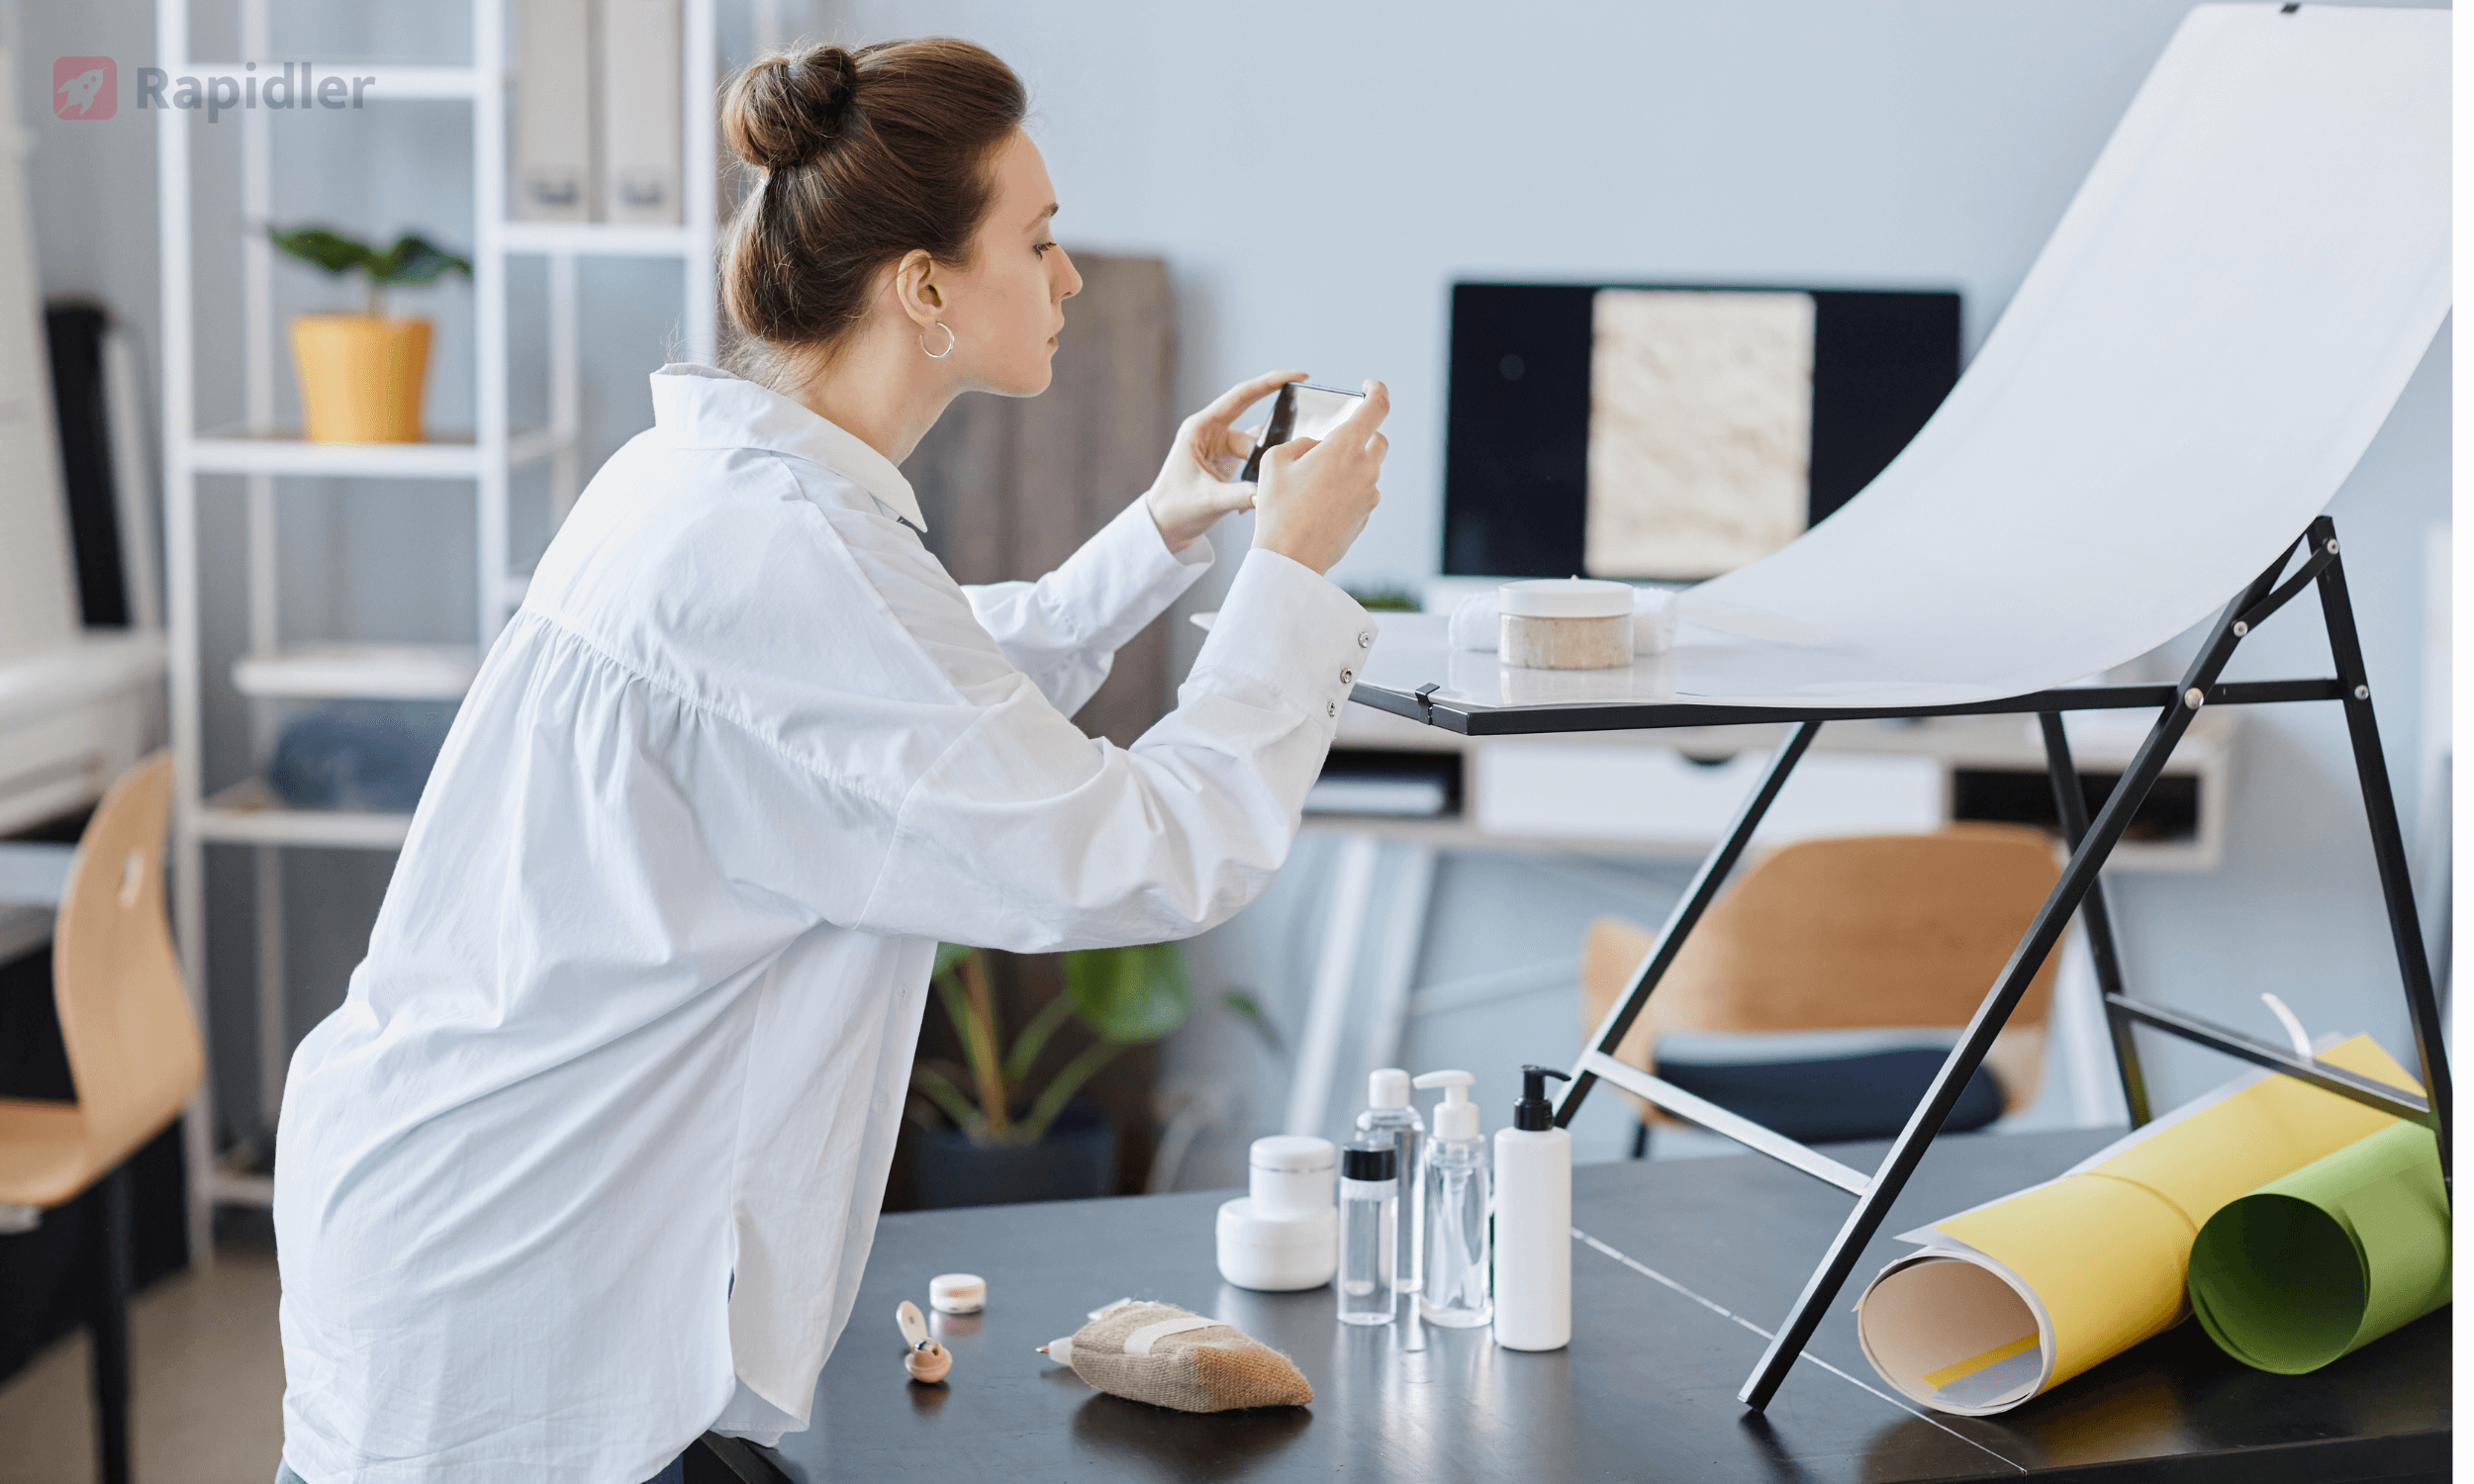
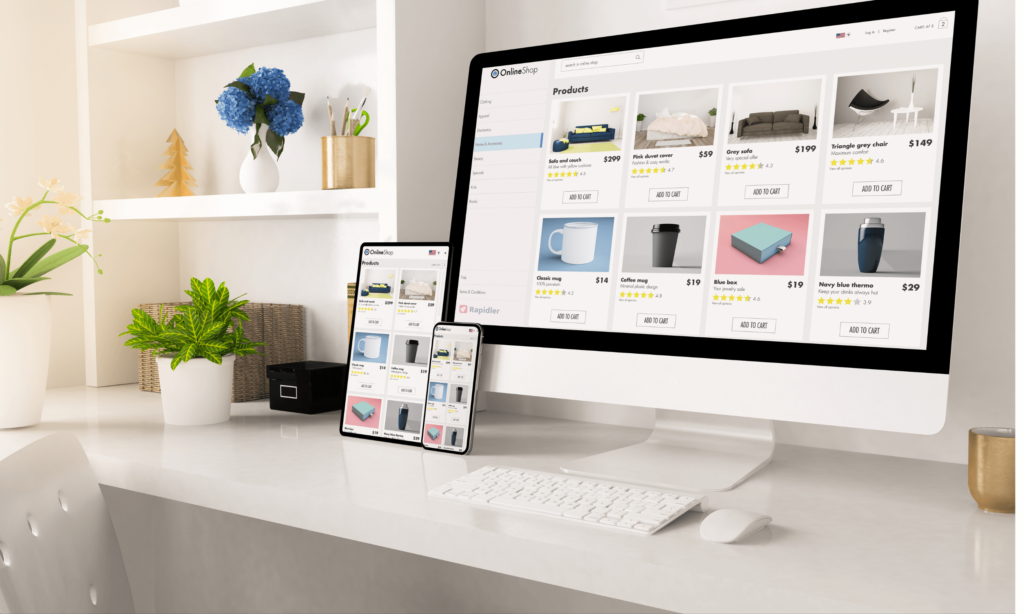
You’re scrolling through a Shopify store, and suddenly, your eyes lock onto a stunning product image. It’s so captivating that you can almost feel the texture through your screen. That, my friends, is the power of great product photography. In this guide, we’re going to dive deep into the world of Shopify product photography, uncovering the secrets that’ll make your products pop and your sales soar. Whether you’re a photography newbie or a seasoned pro, I promise you’ll walk away with a treasure trove of tips and tricks to elevate your Shopify game. So, grab your camera (or smartphone), and let’s embark on this visual adventure together!
Table of Contents
- Why Product Photography Matters
- Essential Equipment for Shopify Product Photography
- Lighting Techniques: Illuminating Your Products
- Composition Rules: Framing Your Products Like a Pro
- Photo Editing: Polishing Your Images to Perfection
- Lifestyle Shots: Bringing Your Products to Life
- 360-Degree Photography: A Game-Changer for Shopify Stores
- Mobile Photography: Smartphone Tips for Stunning Shots
- Product Variation Photography: Showcasing Options
- SEO Optimization for Product Images
- Frequently Asked Questions
- Final Thoughts: Your Shopify Store and Visual Excellence
Why Product Photography Matters
Let’s kick things off with a little story. When I first started my Shopify journey, I thought slapping any old photo on my product pages would do the trick. Boy, was I wrong! It didn’t take long to realize that in the world of e-commerce, your product photos are your storefront, your sales team, and your brand ambassador all rolled into one.
Here’s the deal: great product photography can make or break your Shopify store. It’s not just about making your products look pretty (although that’s certainly part of it). It’s about building trust, showcasing quality, and giving your customers the confidence to hit that “Add to Cart” button.
Consider this: According to a study by Justuno, 93% of consumers consider visual appearance to be the key deciding factor in a purchasing decision. That’s huge! It means that your product photos are doing some serious heavy lifting when it comes to converting browsers into buyers.
But wait, there’s more! High-quality product photos can:
- Reduce return rates: When customers know exactly what they’re getting, they’re less likely to be disappointed.
- Boost social media engagement: Eye-catching photos are more likely to be shared, increasing your brand’s visibility.
- Improve your SEO: Properly optimized images can help your Shopify store rank higher in search results.
- Set you apart from the competition: In a sea of mediocre product photos, yours can be the beacon that draws customers in.
Now, I know what you might be thinking: “But I’m not a professional photographer!” Don’t worry, my friend. That’s exactly why we’re here. By the end of this guide, you’ll have all the tools and knowledge you need to create stunning product photos, even if you’ve never picked up a camera before.
“The best marketing doesn’t feel like marketing.” – Tom Fishburne
This quote from marketing guru Tom Fishburne perfectly encapsulates why great product photography is so crucial. When done right, your photos don’t just sell a product – they tell a story, evoke emotions, and create a connection with your customers.
Essential Equipment for Shopify Product Photography
Alright, let’s talk gear! Now, before you start sweating about the cost of fancy equipment, let me put your mind at ease. You don’t need to break the bank to get started with product photography. In fact, you might already have some of these items lying around your house!
Here’s a rundown of the essential equipment you’ll need:
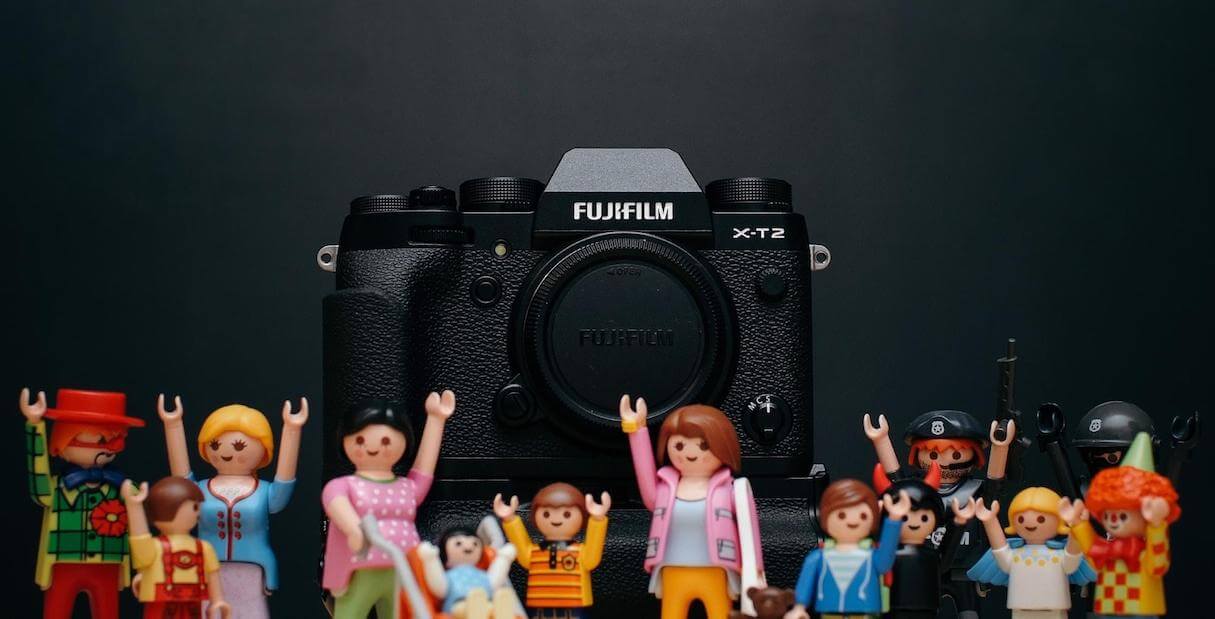
- Camera: This one’s obvious, right? But here’s the kicker – you don’t necessarily need a high-end DSLR to get started. A good quality smartphone can work wonders, especially for smaller products. If you do decide to invest in a dedicated camera, look for one with manual settings that allow you to control aperture, shutter speed, and ISO.
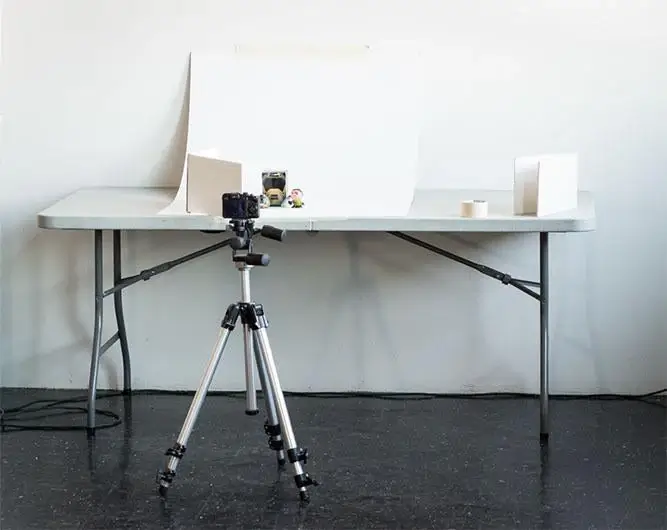
- Tripod: Trust me on this one – a tripod is your best friend in product photography. It keeps your camera steady, ensuring sharp, clear images every time. Plus, it frees up your hands to adjust your product or lighting.
- Lighting: Good lighting is the secret sauce of great product photos. Natural light is fantastic and free, but it’s not always reliable. Consider investing in a couple of softbox lights or LED panels for consistent, flattering illumination.
- Backdrop: A clean, simple backdrop helps your products stand out. A large sheet of white paper or fabric can work wonders. For a more professional setup, consider a seamless paper backdrop or a lightbox.
- Reflectors: These help bounce light back onto your product, softening shadows and creating a more even look. You can buy professional reflectors, or DIY with white foam board or even a piece of aluminum foil.
- Props: Depending on your products, you might want some props to help set the scene or provide scale. Just remember, the product should always be the star of the show!
Now, let’s talk about a few optional but incredibly useful pieces of equipment:
- Macro lens: If you’re photographing small items or intricate details, a macro lens can be a game-changer.
- Remote shutter release: This helps eliminate camera shake, especially useful for long exposures.
- Color checker: This tool ensures your colors are accurate, which is crucial for products where color is a key feature.
Remember, it’s not about having the most expensive gear – it’s about knowing how to use what you have effectively. As you grow more comfortable with product photography, you can gradually upgrade your equipment.
Here’s an interesting fact: According to a survey by BigCommerce, 78% of online shoppers want products to be brought to life with images. This underscores the importance of investing time and effort in your product photography setup.
“The best investment is in the tools of one’s own trade.” – Benjamin Franklin
Old Ben Franklin might not have been talking about product photography, but his wisdom certainly applies here. Investing in good quality equipment (within your means) can pay dividends in the long run.
Lighting Techniques: Illuminating Your Products
Lighting is the unsung hero of product photography. Get it right, and your products will shine (literally and figuratively). Get it wrong, and even the most amazing product can look dull and unappealing. So, let’s shed some light on the subject!
Natural Light: Nature’s Studio
When I first started out, I was amazed at how beautiful natural light could make my products look. Here’s how to harness it:
- Find a window: North-facing windows are ideal as they provide soft, consistent light throughout the day.
- Shoot during the “golden hours”: Early morning or late afternoon light is often warm and flattering.
- Use sheer curtains: These can help diffuse harsh sunlight, creating a softer look.
- Avoid direct sunlight: It can create harsh shadows and blown-out highlights.
Artificial Light: Taking Control
While natural light is great, it’s not always reliable or available. That’s where artificial lighting comes in:
- Continuous lighting: LED panels or softbox lights provide constant illumination, making it easier to see exactly how your shot will turn out.
- Strobe lighting: These powerful flashes can freeze motion and provide crisp, clear images.
- Ring lights: Perfect for eliminating shadows, especially when shooting reflective products.
Lighting Setups to Try
Now that we’ve covered the types of light, let’s look at some popular setups:
- One-light setup: Place your main light at a 45-degree angle to your product. Use a reflector on the opposite side to fill in shadows.
- Two-light setup: Use your main light as above, and add a fill light on the opposite side, set to about half the power of your main light.
- Three-point lighting: Add a backlight to the mix, positioned behind and above your product to create separation from the background.
Remember, the key is to experiment and find what works best for your specific products. Some items might look best with soft, diffused light, while others might pop with more dramatic lighting.
Here’s a pro tip: Pay attention to the shadows. They can add depth and dimension to your product, but too harsh shadows can be distracting. Use reflectors or fill lights to soften them as needed.
Did you know? A study by MDG Advertising found that 67% of consumers consider image quality “very important” when making a purchase online. Good lighting is crucial for achieving that high-quality look that customers crave.
“Light makes photography. Embrace light. Admire it. Love it. But above all, know light. Know it for all you are worth, and you will know the key to photography.” – George Eastman
These words from the founder of Kodak remind us of the fundamental importance of lighting in photography. Master your lighting, and you’re well on your way to creating stunning product images for your Shopify store.

Composition Rules: Framing Your Products Like a Pro
Alright, we’ve got our gear sorted and our lighting on point. Now it’s time to talk about composition – the art of arranging elements within your frame to create a visually appealing image. Don’t worry, you don’t need to be Picasso to nail this. Just follow these simple rules, and you’ll be composing like a pro in no time!
The Rule of Thirds
This is the golden rule of composition, and it’s super easy to apply:
- Imagine your frame divided into a 3×3 grid (many cameras and smartphones have this grid overlay option).
- Place your product along these lines or at their intersections.
- This creates a more balanced, interesting image than simply centering your product.
Pro tip: Try placing your product slightly off-center. It often creates a more dynamic, eye-catching composition.
Leading Lines
Use lines in your composition to lead the viewer’s eye to your product. These could be:
- The edge of a table
- A row of similar products
- Even the product itself (think of the curve of a wine bottle)
Negative Space
Don’t be afraid of empty space in your photos. Negative space can:
- Make your product stand out more
- Create a clean, minimalist look
- Provide space for text overlay in your Shopify store
Symmetry and Patterns
Our brains love symmetry and patterns. Use these to create visually pleasing compositions:
- Arrange multiple products in a symmetrical layout
- Showcase patterns in your product (like the weave of a fabric)
- Create patterns with multiple units of your product
The Golden Ratio
This is a slightly more advanced concept, but it’s worth mentioning. The golden ratio (approximately 1:1.618) is found throughout nature and is considered aesthetically pleasing. Try using it to determine the size relationship between your product and the background.
Angle and Perspective
Don’t just shoot your product head-on. Experiment with different angles:
- Eye-level: Great for most products, it’s a neutral, natural view.
- Bird’s eye view: Shooting from directly above can create interesting compositions, especially for flat lay photography.
- Low angle: Shooting from below can make products appear larger and more imposing.
Remember, these rules are guidelines, not strict laws. Once you’re comfortable with them, feel free to break them creatively!
Here’s an interesting fact: A study by Etsy found that 90% of shoppers say photo quality is the most important factor in an online sale. This underscores the importance of not just clear photos, but well-composed ones that showcase your product in the best light (pun intended).
“There are no rules for good photographs, there are only good photographs.” – Ansel Adams
While we’ve covered several “rules” here, this quote from the legendary photographer Ansel Adams reminds us that ultimately, what matters is the final image. If it looks good and showcases your product effectively, you’re on the right track!
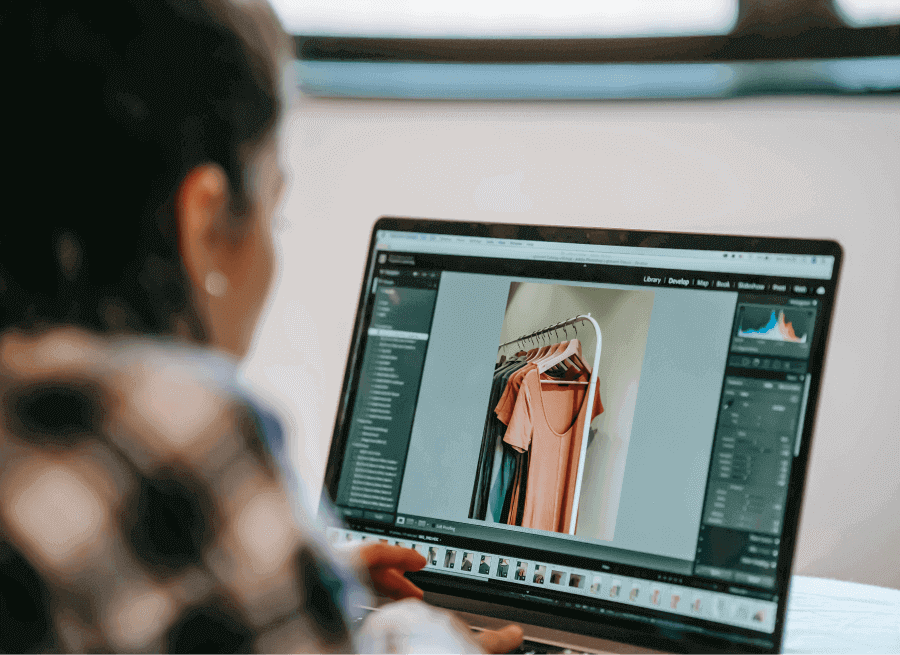
Photo Editing: Polishing Your Images to Perfection
Now that we’ve captured some stellar shots, it’s time to give them that extra sparkle. Photo editing is like adding the secret sauce to your already delicious dish – it enhances the flavors without overpowering the main ingredient (your product, in this case). Let’s dive into the world of pixels and adjustments!
Essential Editing Tools
First things first, you’ll need some editing software. Here are some options:
- Adobe Photoshop: The industry standard, offering powerful tools for advanced editing.
- Adobe Lightroom: Great for batch editing and organizing your photos.
- GIMP: A free, open-source alternative with many of Photoshop’s features.
- Canva: A user-friendly online tool with basic editing features.
- Snapseed: A fantastic mobile app for editing on the go.
Basic Editing Steps
- Crop and Straighten: Ensure your product is properly framed and the horizon is level.
- Adjust Exposure: Brighten underexposed areas or tone down overexposed parts.
- Tweak White Balance: Correct any color casts to ensure your whites are truly white.
- Enhance Contrast: Add depth to your image by tweaking the contrast.
- Sharpen: A slight sharpening can make your product pop, but don’t overdo it!
Pro tip: Always edit in RAW format if possible. It gives you more flexibility and preserves image quality.
Advanced Editing Techniques
Ready to level up? Try these advanced techniques:
- Frequency Separation: This technique allows you to edit color and texture separately, perfect for skin retouching or smoothing out product surfaces.
- Dodging and Burning: Selectively lighten (dodge) or darken (burn) areas of your image to add depth and dimension.
- Color Grading: Adjust the color tones in your image to create a specific mood or style.
- Compositing: Combine elements from multiple photos to create the perfect shot.
Maintaining Consistency
Consistency is key in product photography. Your images should look like they belong to the same family. Here’s how to achieve that:
- Create and use presets or actions for common adjustments.
- Maintain consistent cropping and aspect ratios across your product line.
- Use the same background color or style for all products in a category.
Remember, the goal is to enhance your product photos, not completely transform them. Your edited images should still accurately represent your products.
“The best thing about a picture is that it never changes, even when the people in it do.” – Andy Warhol
While Andy Warhol wasn’t talking about product photography, his words remind us of the power of a well-edited image. Your product photos are frozen moments that represent your brand – make sure they’re picture-perfect!
Lifestyle Shots: Bringing Your Products to Life
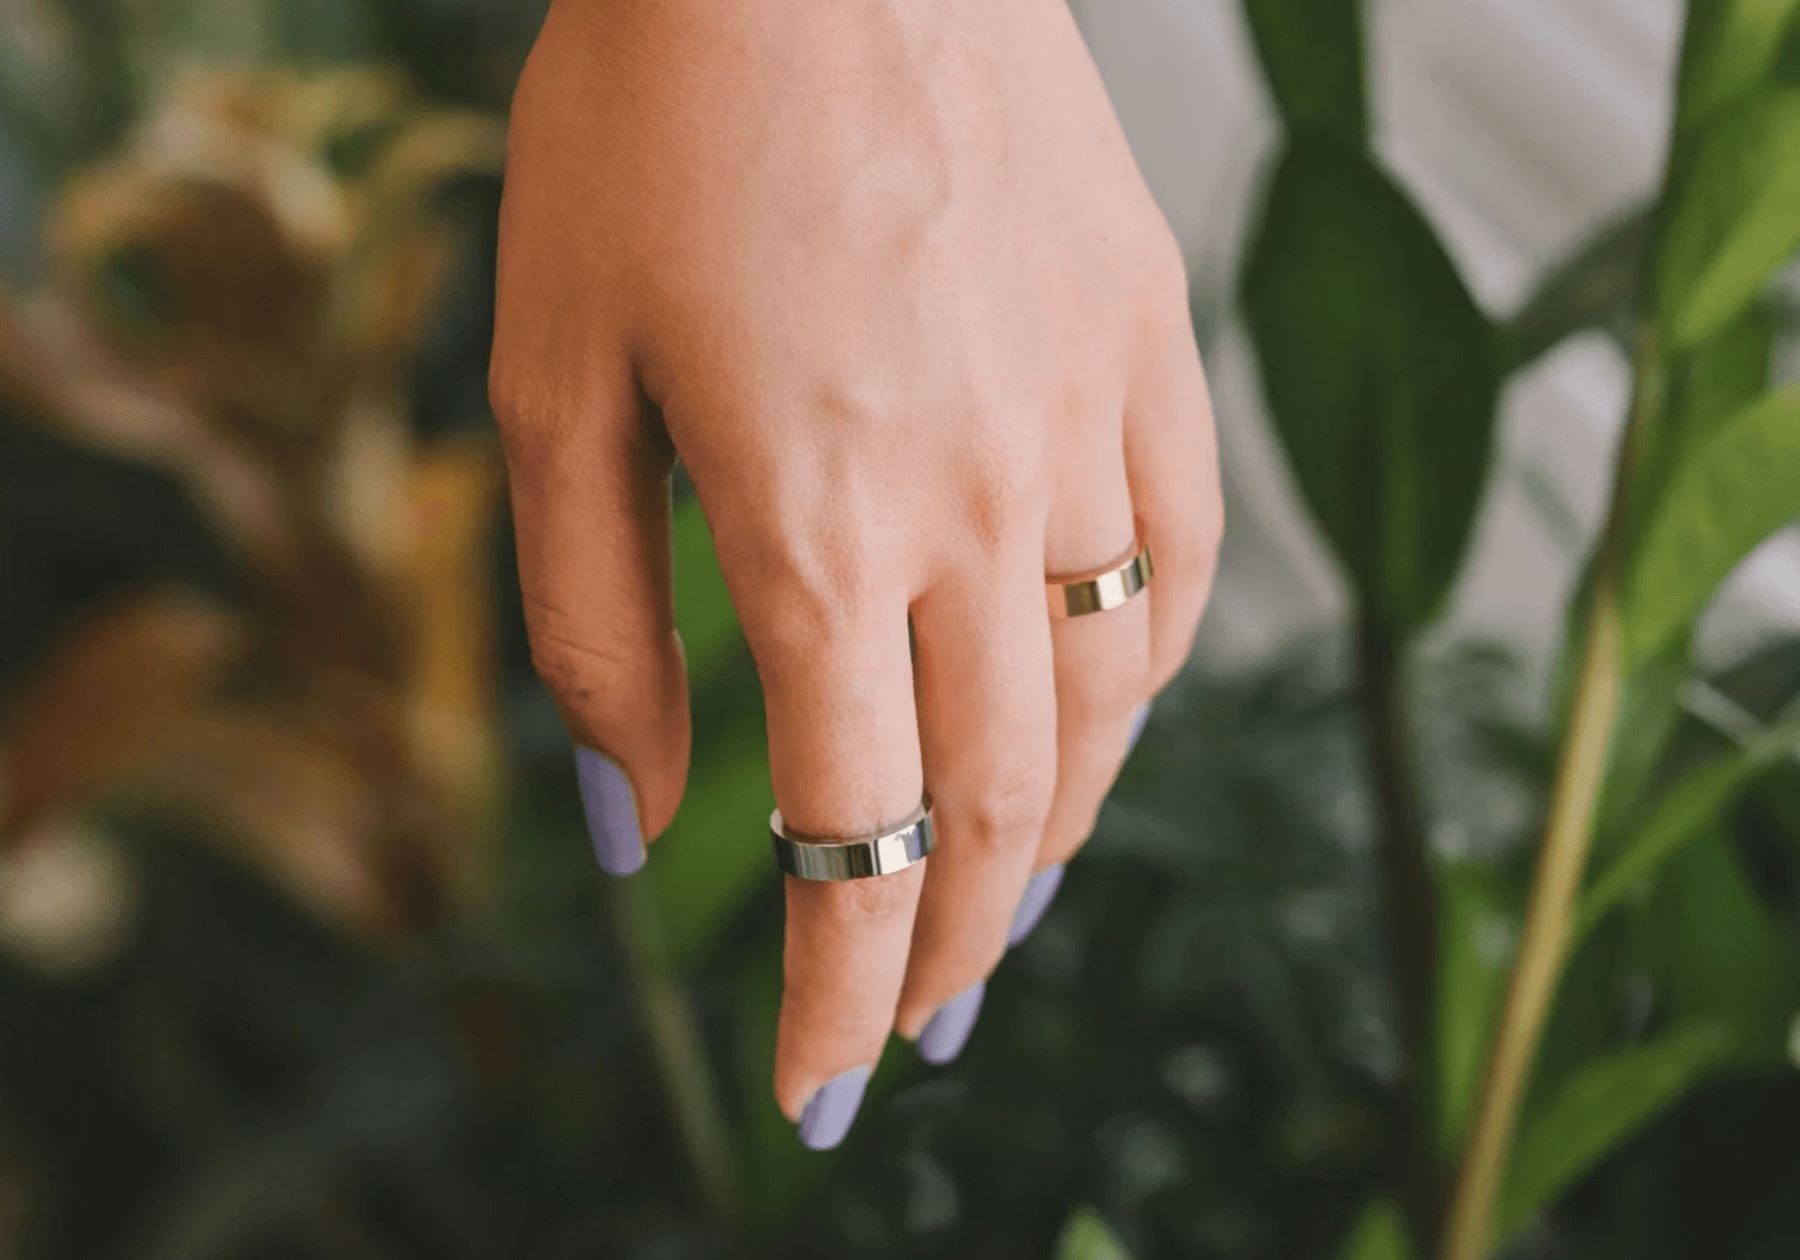
Alright, we’ve mastered the art of making our products look great in isolation. Now, let’s take it up a notch and show them in action! Lifestyle shots are all about context – they show your customers how your products fit into their lives. It’s like inviting your products to a party and watching them mingle!
Why Lifestyle Shots Matter
Lifestyle photography does more than just showcase your product. It:
- Helps customers envision using the product in their own lives
- Adds an emotional connection to your brand
- Showcases the scale and functionality of your products
- Creates shareable content for social media
Planning Your Lifestyle Shots
Before you start shooting, consider these factors:
- Your target audience: What does their lifestyle look like?
- The product’s purpose: How and where would it typically be used?
- Your brand’s aesthetic: What style aligns with your brand identity?
Setting the Scene
Now, let’s create that perfect setting:
- Location: Choose a spot that makes sense for your product. It could be a cozy living room for home decor, a bustling café for a coffee mug, or a serene beach for swimwear.
- Props: Select items that complement your product without overshadowing it. Think about what your customer might use alongside your product.
- Models: If you’re featuring people, ensure they represent your target audience. Remember, authenticity is key!
Capturing the Shot
When it’s time to shoot, keep these tips in mind:
- Aim for natural, candid-looking poses rather than stiff, staged shots.
- Capture a variety of angles and compositions.
- Ensure your product is still the star of the show.
- Use natural light when possible for a more authentic feel.
Pro tip: Take some behind-the-scenes shots or videos. These can be great for social media content!
Post-Processing for Lifestyle Shots
When editing lifestyle photos, remember:
- Keep it natural – avoid over-editing that makes the scene look fake.
- Maintain consistent color grading across your lifestyle shots.
- Subtly emphasize your product through selective editing.
Here’s an interesting fact: According to a study by Stackla, 79% of people say user-generated content highly impacts their purchasing decisions. Lifestyle shots that look authentic and relatable can tap into this preference for “real” content.
“Photography is the story I fail to put into words.” – Destin Sparks
This quote beautifully captures the essence of lifestyle photography. Your shots should tell a story – the story of your product in the customer’s life.

360-Degree Photography: A Game-Changer for Shopify Stores
Hold onto your hats, folks, because we’re about to take your product photography for a spin – literally! 360-degree photography is like giving your customers a virtual reality experience right in your Shopify store. It’s the next best thing to holding the product in their hands.
Why 360-Degree Photography Rocks
Let’s break down why this technique is worth your time:
- Provides a complete view of your product
- Increases customer engagement and time spent on your product pages
- Reduces return rates by setting accurate expectations
- Sets you apart from competitors
Getting Started with 360-Degree Photography
Ready to give it a whirl? Here’s what you’ll need:
- A turntable: This will rotate your product smoothly.
- A camera and tripod: Stability is crucial here.
- Consistent lighting: To ensure even illumination as the product rotates.
- 360-degree photography software: To stitch your images together into an interactive view.
The Shooting Process
Here’s a step-by-step guide to capturing those spinning shots:
- Set up your product on the turntable.
- Ensure your lighting is even and shadows are minimized.
- Take a photo, rotate the turntable slightly, and repeat.
- Aim for at least 24 images for a smooth rotation, but 36 or more is ideal.
- Maintain a consistent camera position and settings throughout.
Pro tip: Use a remote shutter release to avoid accidentally moving the camera between shots.
Post-Processing and Implementation
Once you’ve got your shots, it’s time to bring them to life:
- Use your 360-degree software to align and stitch your images.
- Make any necessary adjustments to ensure smooth rotation.
- Export your 360-degree view in a format compatible with your Shopify theme.
- Implement the view on your product page, usually via an app or custom code.
Best Practices for 360-Degree Photography
To make the most of this technique:
- Ensure your product is well-lit from all angles.
- Use a clean, simple background to keep the focus on your product.
- Consider adding hotspots to highlight key features.
- Optimize your 360-degree views for mobile devices.
Here’s a fascinating fact: A study by Spinme.com found that 360-degree photography can increase conversion rates by up to 30%. That’s a pretty impressive spin on your ROI!
“The camera is an instrument that teaches people how to see without a camera.” – Dorothea Lange
While Dorothea Lange wasn’t talking about 360-degree photography, her words remind us that great product photography helps customers see and understand our products in new ways.
Mobile Photography: Smartphone Tips for Stunning Shots
Alright, let’s get real for a moment. Not everyone has access to a professional camera setup, and that’s totally okay! The smartphone in your pocket is a powerful tool that can capture some seriously impressive product shots. Let’s unlock its potential!
Why Mobile Photography Works
Before we dive in, let’s appreciate the perks of smartphone photography:
- Convenience and portability
- User-friendly interface
- Instant editing and sharing capabilities
- Surprisingly good quality, especially in newer models
Setting Up Your Mobile Studio
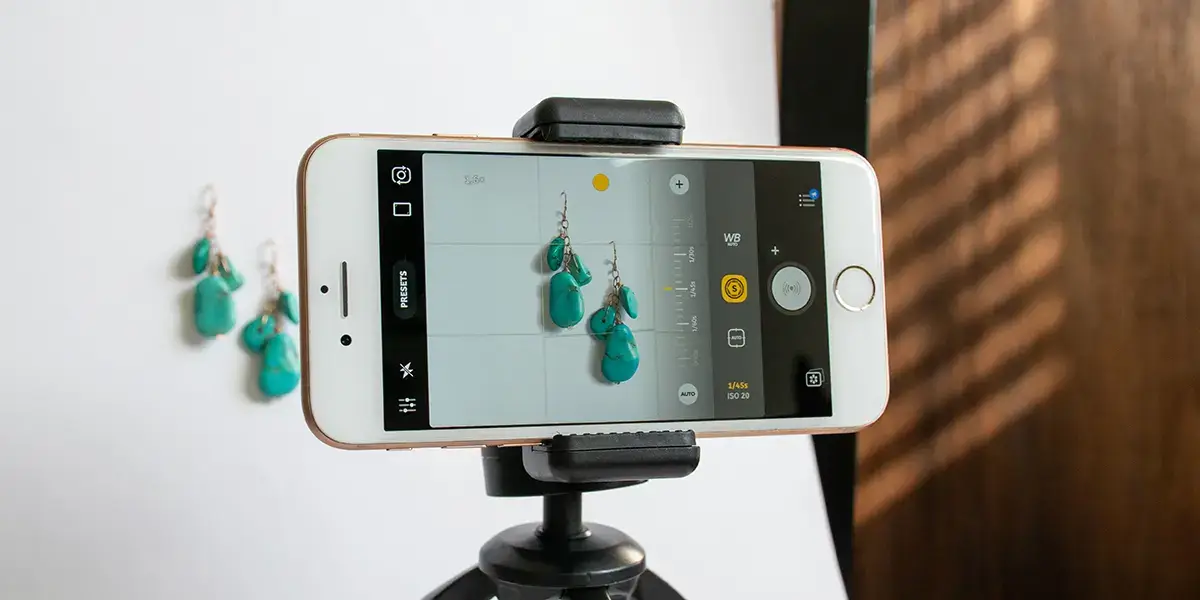
You don’t need a fancy studio to take great smartphone photos. Here’s what you do need:
- A stable surface: A table or desk will do.
- Good lighting: Natural light is your best friend here.
- A simple backdrop: A piece of white paper or fabric works wonders.
- A smartphone tripod or stabilizer: For those crisp, shake-free shots.
Mastering Your Smartphone Camera
Modern smartphones pack a punch when it comes to camera features. Here’s how to make the most of them:
- Use grid lines: Enable the grid feature to help with composition.
- Focus manually: Tap on your product to ensure it’s in sharp focus.
- Adjust exposure: Most phones allow you to adjust brightness by swiping up or down after focusing.
- Experiment with portrait mode: This can create a nice depth of field effect.
- Utilize burst mode: Great for capturing products in motion.
Pro tip: Always clean your phone’s camera lens before shooting. A quick wipe can make a world of difference!
Mobile Editing Apps
Take your smartphone photos to the next level with these editing apps:
- Snapseed: Powerful, free editing tool with advanced features.
- VSCO: Great for filters and basic adjustments.
- Lightroom Mobile: Professional-grade editing on the go.
- Afterlight: User-friendly with lots of creative options.
Tips for Better Smartphone Product Photos
- Use the volume buttons as a shutter release to reduce camera shake.
- Avoid digital zoom – move closer to your product instead.
- Experiment with different angles and perspectives.
- Use the HDR mode for high-contrast scenes.
- Don’t overdo filters – aim for natural-looking results.
Here’s an interesting stat: According to Statista, 85% of Americans own a smartphone as of 2021. That’s a whole lot of potential product photographers out there!
“The best camera is the one that’s with you.” – Chase Jarvis
This quote from photographer Chase Jarvis perfectly encapsulates the beauty of smartphone photography. You always have a capable camera in your pocket, ready to capture your products in their best light.
Product Variation Photography: Showcasing Options
Alright, let’s tackle a challenge that many Shopify store owners face: how to showcase product variations without overwhelming your customers or your product pages. Whether you’re selling t-shirts in 10 colors or jewelry with different gemstone options, mastering variation photography is crucial for your success. Let’s dive in!
Why Variation Photography Matters
Showcasing product variations effectively can:
- Reduce customer uncertainty and hesitation
- Decrease return rates
- Increase average order value
- Improve overall customer satisfaction
Consistency is Key
When photographing product variations, consistency is your best friend. Here’s how to achieve it:
- Use the same setup: Keep your lighting, background, and camera settings consistent across all variations.
- Maintain the same angle: Shoot all variations from the same perspective to allow easy comparison.
- Standardize your editing: Apply the same editing style to all variation photos.
Showcasing Color Variations
For products with multiple color options:
- Shoot individual photos of each color variant
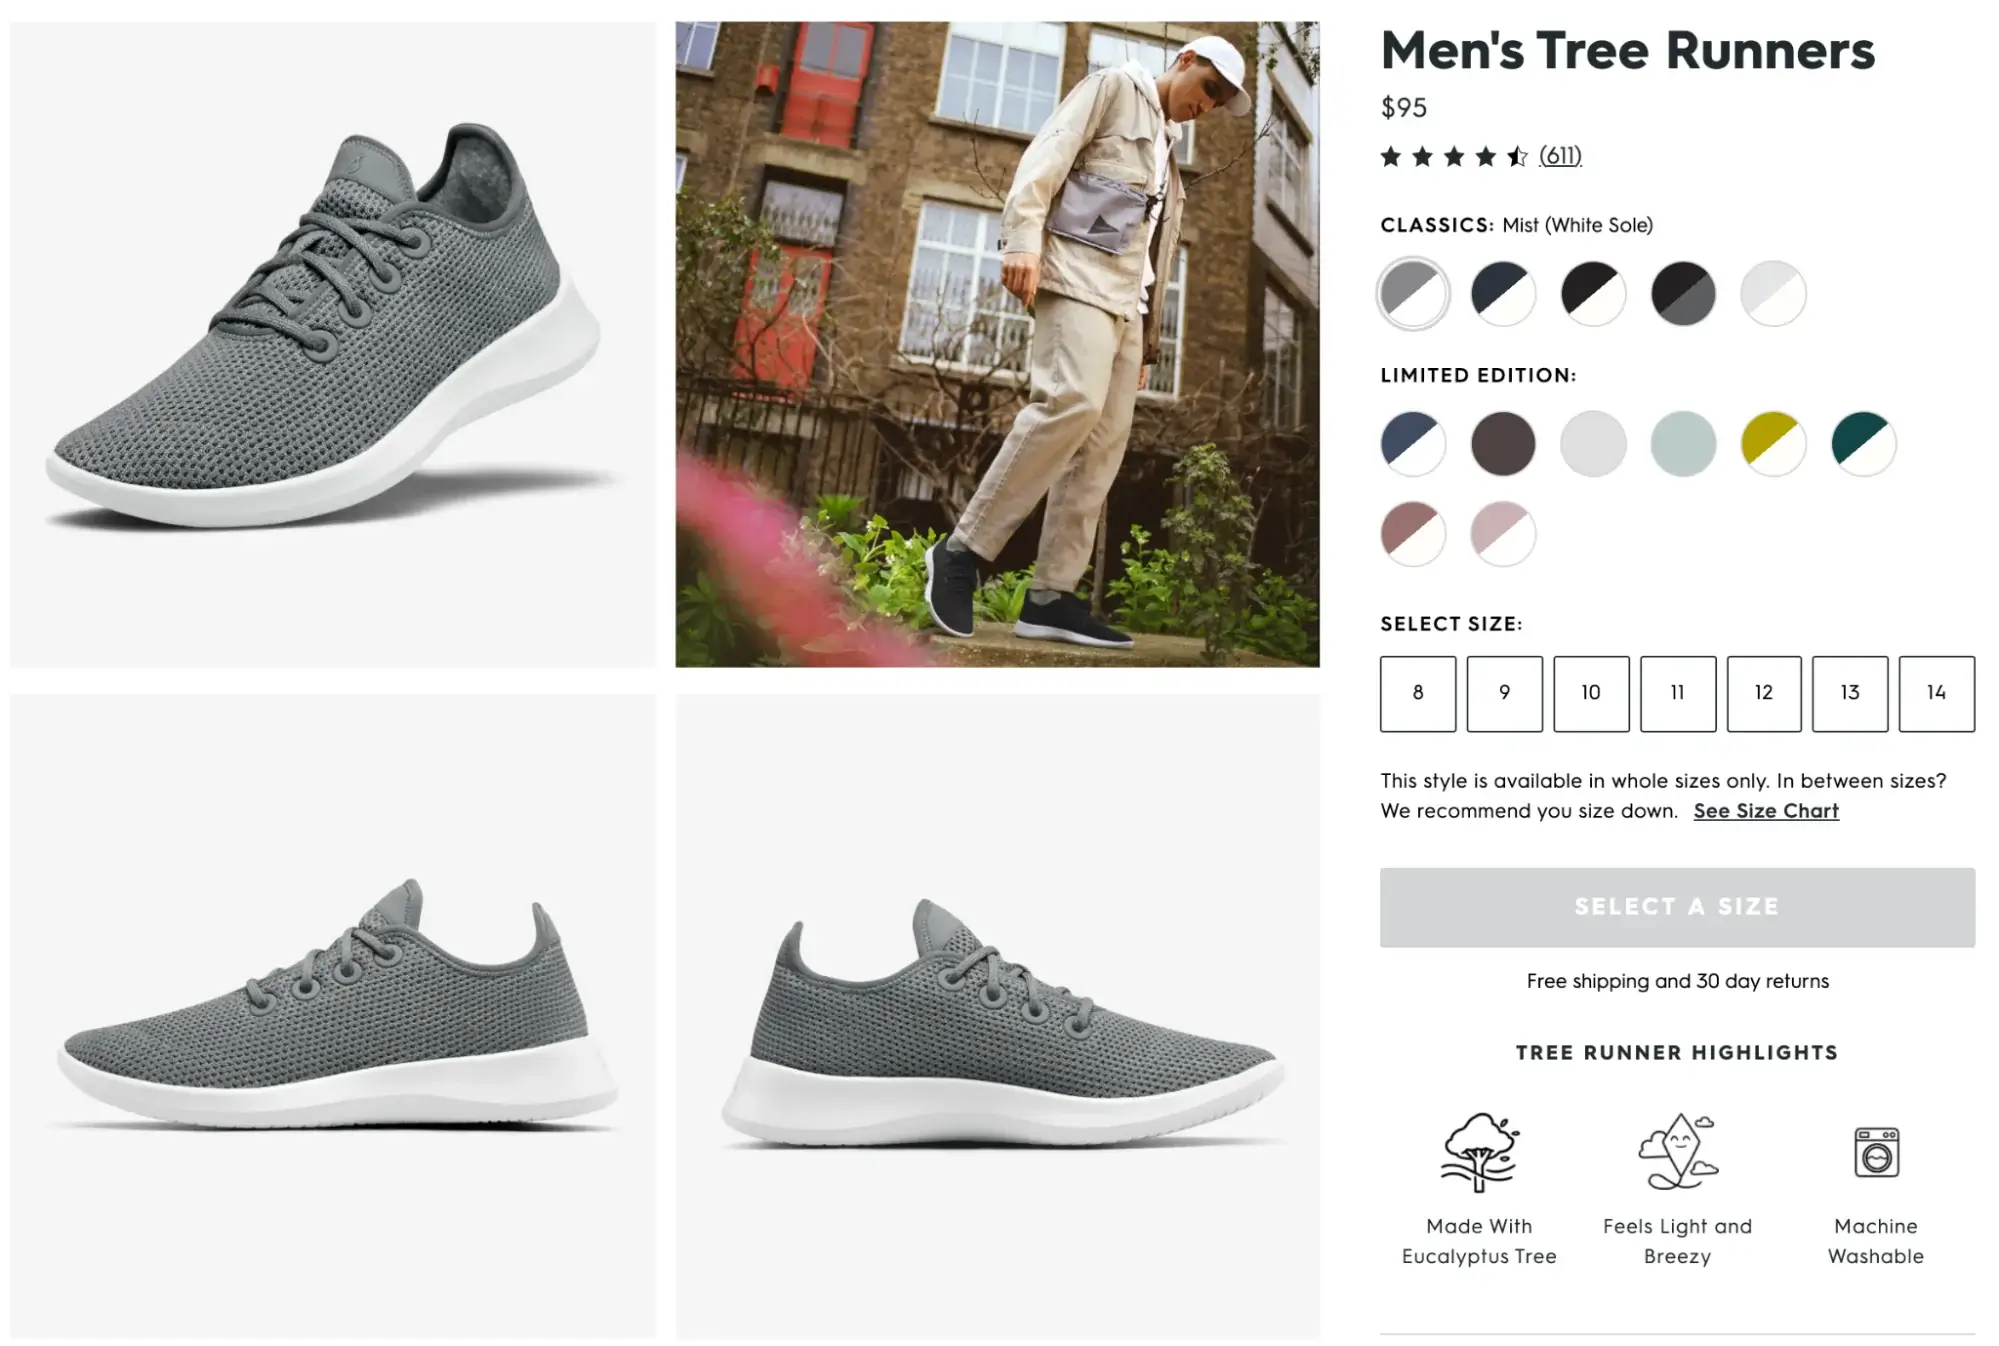
- Create a composite image showing all color options side by side
- Consider a 360-degree view that allows customers to switch colors interactively
Pro tip: Include a size reference object in your shots to help customers gauge scale across different colors.
Highlighting Material or Texture Variations
When your products come in different materials or textures:
- Use macro photography to showcase texture details
- Capture how light interacts with different materials
- Consider including a video to demonstrate texture and movement
Size and Fit Variations
For products that come in different sizes:
- Use models of different sizes to showcase fit
- Create comparison shots with common objects for scale
- Consider infographics with measurements for each size
Organizing Variation Photos on Your Product Page
Now that you’ve captured great variation photos, let’s talk about presenting them:
- Use thumbnails or swatches that customers can click to view full-sized images
- Consider a gallery view that allows easy browsing of all variations
- Implement zoom functionality so customers can see details
- Use alt text for each variation image to improve SEO and accessibility
Here’s an interesting fact: According to a study by Baymard Institute, 42% of e-commerce sites don’t provide adequate visual information about product variations. By nailing your variation photography, you’re already ahead of the game!
“The difference between ordinary and extraordinary is that little extra.” – Jimmy Johnson
This quote perfectly captures the essence of great variation photography. That extra effort in showcasing your product options can make an extraordinary difference in your customers’ shopping experience.
SEO Optimization for Product Images
We’ve captured stunning product photos, but our job isn’t done yet. Now, let’s make sure those beautiful images get the attention they deserve from search engines. SEO optimization for product images is like giving your photos a megaphone in the crowded world of e-commerce. Let’s turn up the volume!
Why Image SEO Matters
Optimizing your product images for SEO can:
- Improve your Shopify store’s visibility in image search results
- Boost your overall search engine rankings
- Drive more organic traffic to your product pages
- Enhance user experience, which indirectly benefits SEO
File Names: Your First SEO Step
Before you even upload your images, start with descriptive, keyword-rich file names:
- Use lowercase letters and hyphens instead of spaces
- Include your target keyword
- Be specific but concise
For example, “blue-leather-womens-wallet.jpg” is much better than “IMG_12345.jpg”
Alt Text: The Hidden SEO Powerhouse
Alt text is crucial for both SEO and accessibility. Here’s how to nail it:
- Describe the image accurately
- Include your target keyword naturally
- Keep it under 125 characters
- Don’t stuff keywords – write for humans first, search engines second
Pro tip: Use your product title as a starting point for alt text, then add descriptive details.
Image Size and Format: Speed Matters
Page speed is a crucial SEO factor, and images play a big role. Optimize your images by:
- Resizing images to the largest size they’ll be displayed on your site
- Compressing images to reduce file size without sacrificing quality
- Using the right format: JPEGs for photographs, PNGs for images with transparency
- Implementing lazy loading for images further down the page
Structured Data: Helping Search Engines Understand Your Images
Use schema markup to provide additional context about your product images:
- Implement Product schema with image properties
- Use ImageObject schema for more detailed image information
- Ensure your structured data matches the visible content on your page
Image Sitemaps: Guiding Search Engines
Create and submit an image sitemap to help search engines discover and index your product images:
- Include all important product images
- Provide image metadata like title, caption, and license information
- Submit your image sitemap through Google Search Console
Here’s a fascinating fact: According to Moz, images appear in 27% of Google search results. That’s a significant chunk of search real estate that your optimized product images could be occupying!
“On the Internet, if you’re not appearing on page one, you basically don’t exist.” – Nick Kohlschreiber
While this quote might be a bit extreme, it underscores the importance of SEO, including image optimization, in getting your products noticed online.
Frequently Asked Questions
Let’s address some common questions that pop up in the world of Shopify product photography:
Q: Do I really need professional equipment to take good product photos?
A: Not necessarily! While professional equipment can certainly help, you can achieve great results with a smartphone and some creativity. The key is understanding lighting, composition, and basic editing techniques.
Q: How many product photos should I include for each item?
A: Aim for at least 3-5 high-quality images per product. This typically includes a main product shot, close-ups of important details, and lifestyle or context shots. For products with variations, include images of each option.
Q: Should I use models for my product photos?
A: It depends on your product and brand. Models can help customers visualize how a product looks in use, especially for clothing and accessories. However, for many products, well-styled product-only shots work great.
Q: How can I achieve consistent product photos across my entire catalog?
A: Create a photography style guide that outlines your standards for lighting, background, angles, and editing. Use this guide for all your product shoots to maintain consistency.
Q: Is it worth investing in 360-degree product photography?
A: For many products, especially those where shape and details matter (like shoes or electronics), 360-degree photography can significantly boost conversions. However, weigh the cost and effort against the potential benefits for your specific products.
Q: How often should I update my product photos?
A: Update your photos whenever your product design changes, or if you notice your current images aren’t performing well. Also consider seasonal updates for relevant products, or if your brand aesthetic evolves.
Remember, great product photography is an ongoing process. Keep experimenting, learning, and refining your techniques to showcase your products in the best possible light!
Final Thoughts: Your Shopify Store and Visual Excellence
We’ve covered a lot of ground in our journey through the world of Shopify product photography. From mastering the basics to diving into advanced techniques like 360-degree shots and SEO optimization, you’re now armed with a treasure trove of knowledge to make your products shine online.
Remember, great product photography is more than just pretty pictures – it’s about telling your product’s story, building trust with your customers, and ultimately driving sales. Each photo is an opportunity to showcase your product’s best features and connect with your audience on an emotional level.
As you implement these techniques, keep in mind that practice makes perfect. Don’t be discouraged if your first attempts don’t look like professional studio shots. Keep experimenting, refining your skills, and most importantly, have fun with it!
Here are some key takeaways to remember:
- Consistency is key: Develop a style guide and stick to it across your product line.
- Lighting is everything: Whether you’re using natural light or studio setups, good lighting can make or break your photos.
- Show, don’t just tell: Use lifestyle shots and detailed close-ups to give customers a complete understanding of your product.
- Optimize for search and speed: Don’t forget about the technical aspects of image SEO and optimization.
- Keep learning and adapting: The world of e-commerce and photography is always evolving. Stay curious and open to new techniques and technologies.
As you elevate your product photography game, you’ll likely see improvements not just in your sales, but in your brand perception and customer satisfaction as well. High-quality, thoughtful product images show that you care about your products and your customers’ shopping experience.
So, grab your camera (or smartphone), set up your products, and start shooting! Your Shopify store is about to get a whole lot more photogenic.


